Sunday 15 November 2015

Rationale

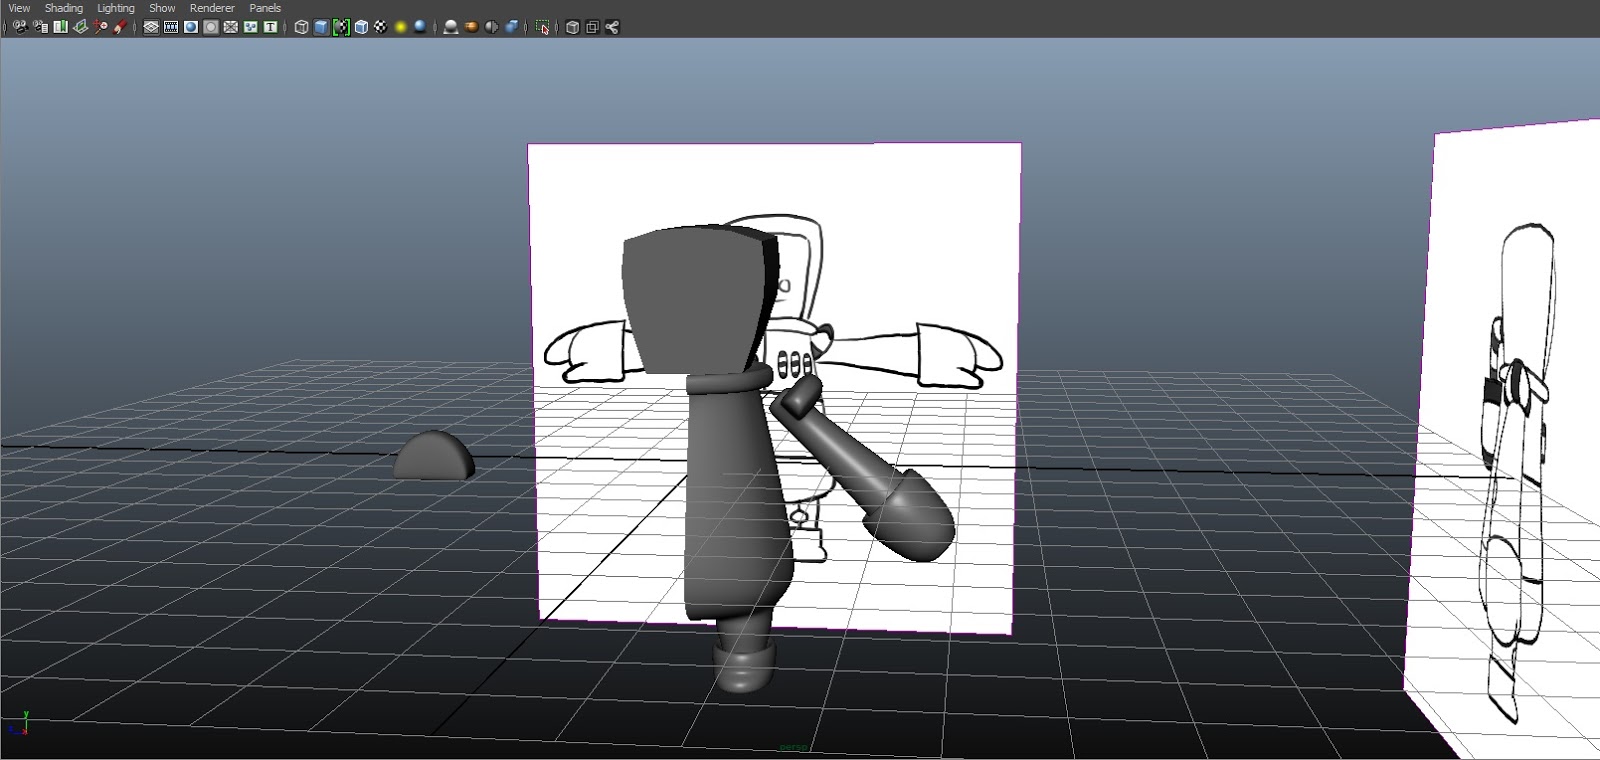
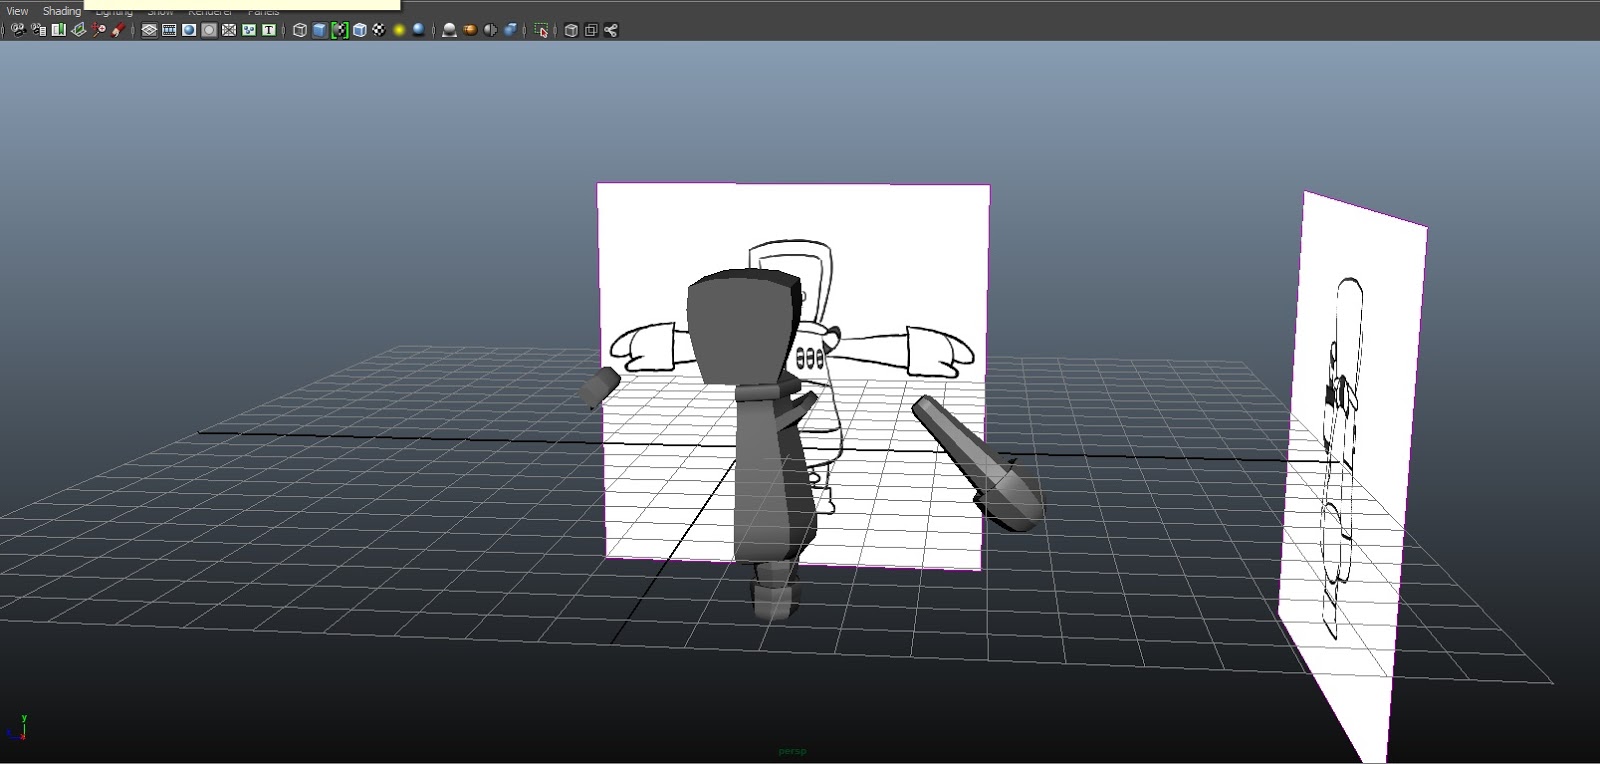
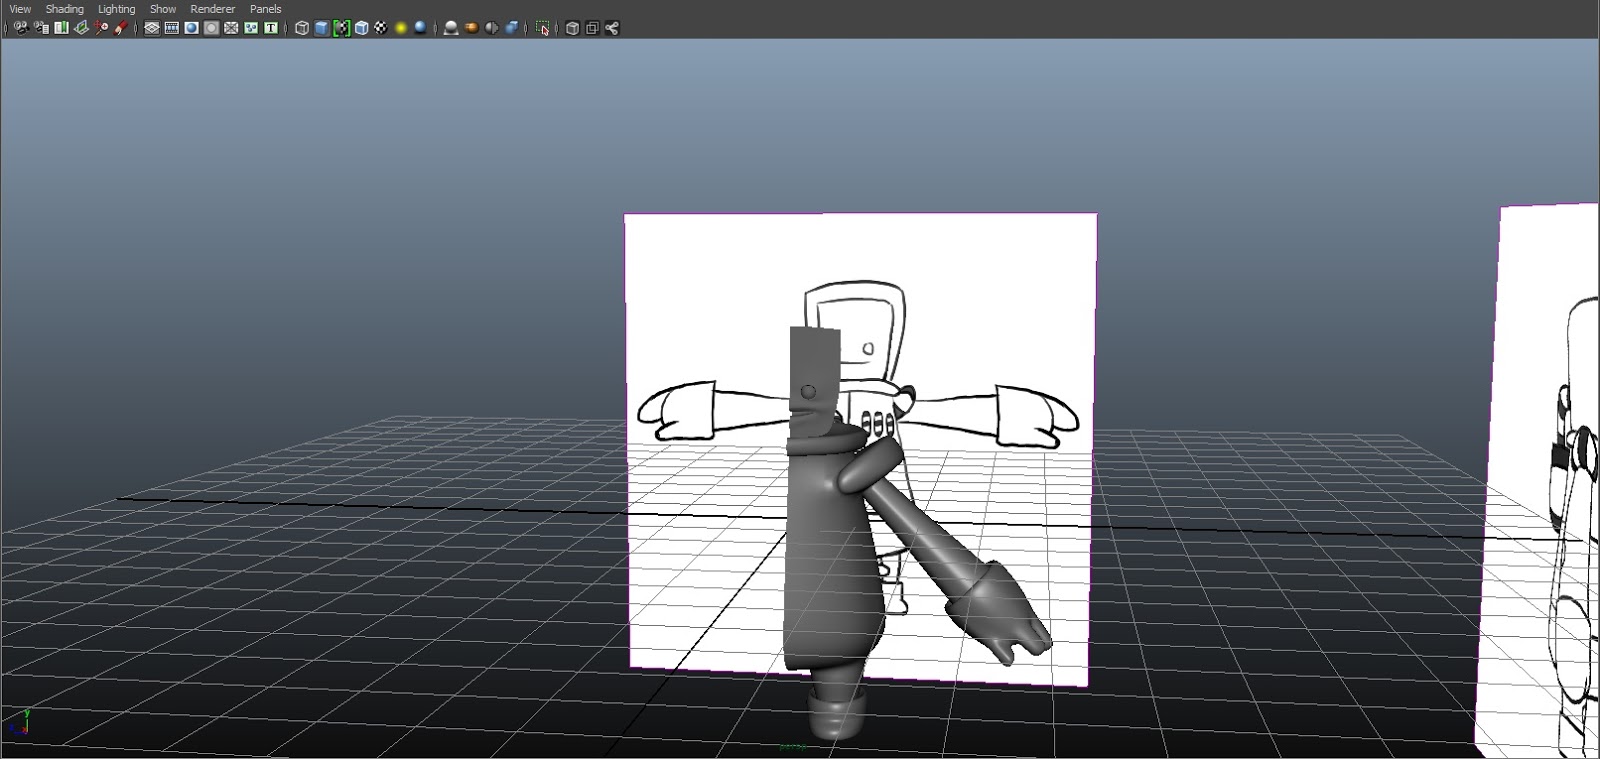
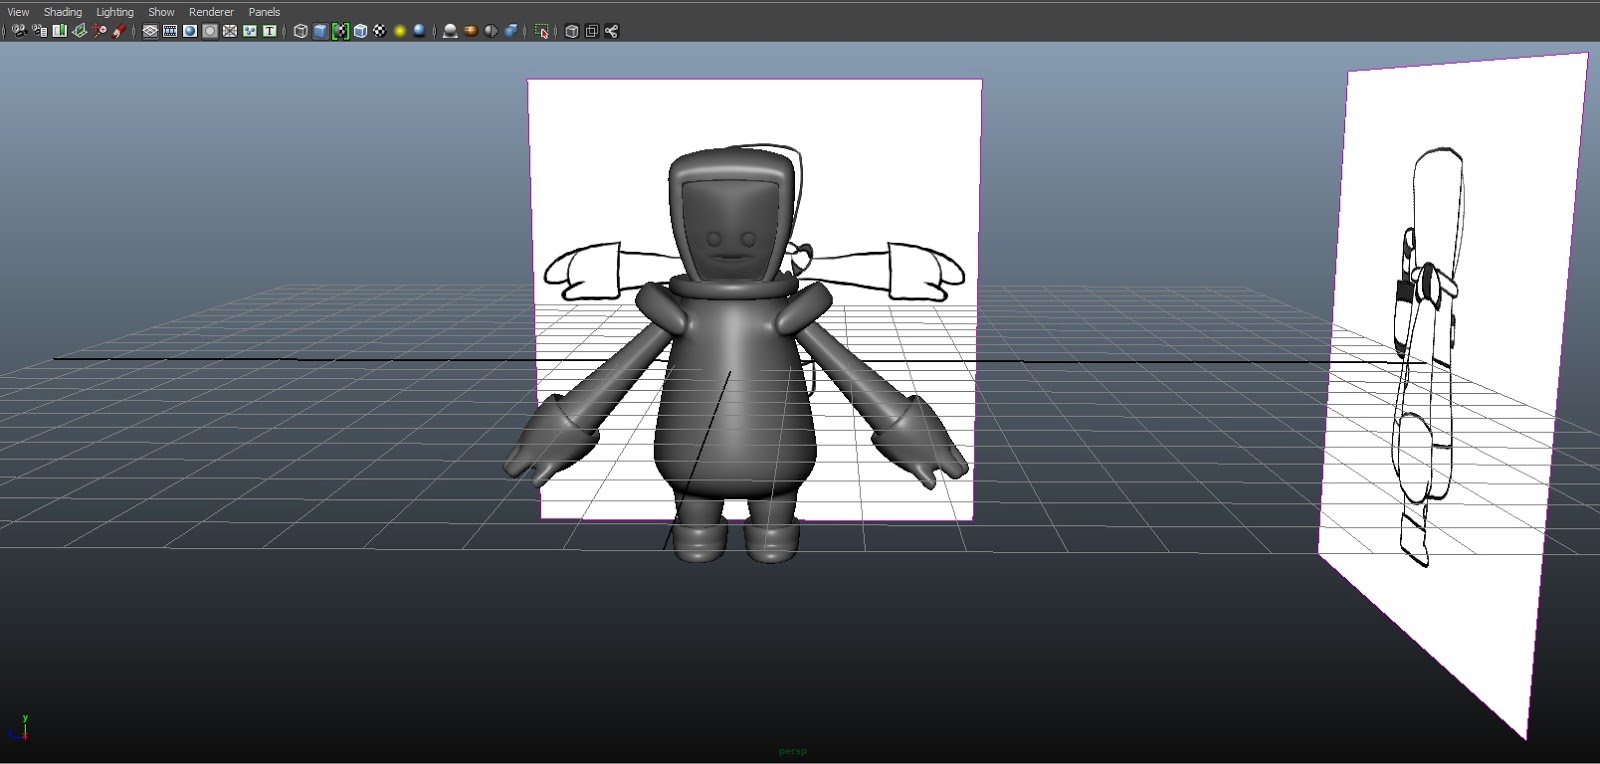
This was my first time animating in 3D. It was challenging but a lot of fun. The transition from working in 2D to 3D was quite hard but I managed to get the hang of it. It does go through the same process in the  production and they use the same principles in terms of animation. I enjoyed 3D modelling a lot. I got the hang of UV texturing after a while and it’s actually really fun to find the right texture to peel out the feel of the character. Rigging was very technical and i found it really challenging. But with practice, I got the hang of it. I learned more about animation after doing 3D animation. I saw how the principles of 2D animation work through the limitations of 3D. I learned how important timing, key poses, inbetweens and secondary movements are.


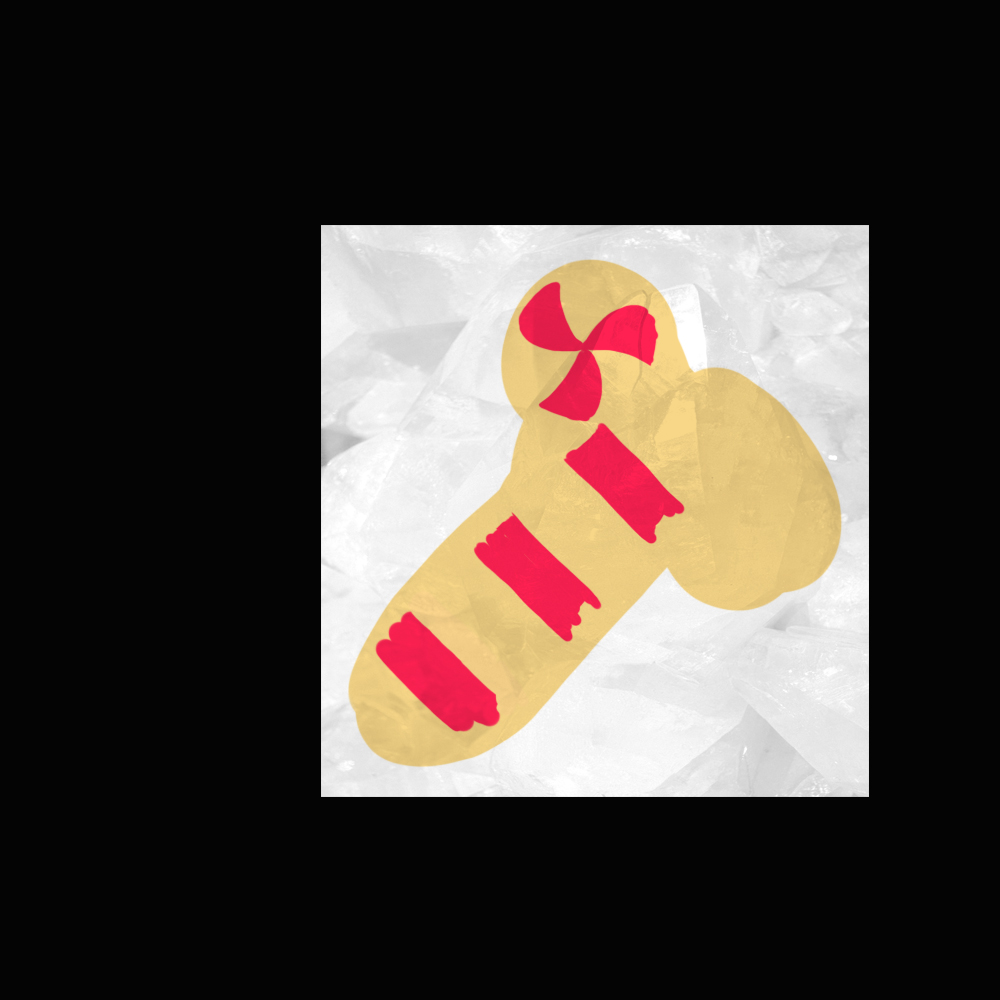
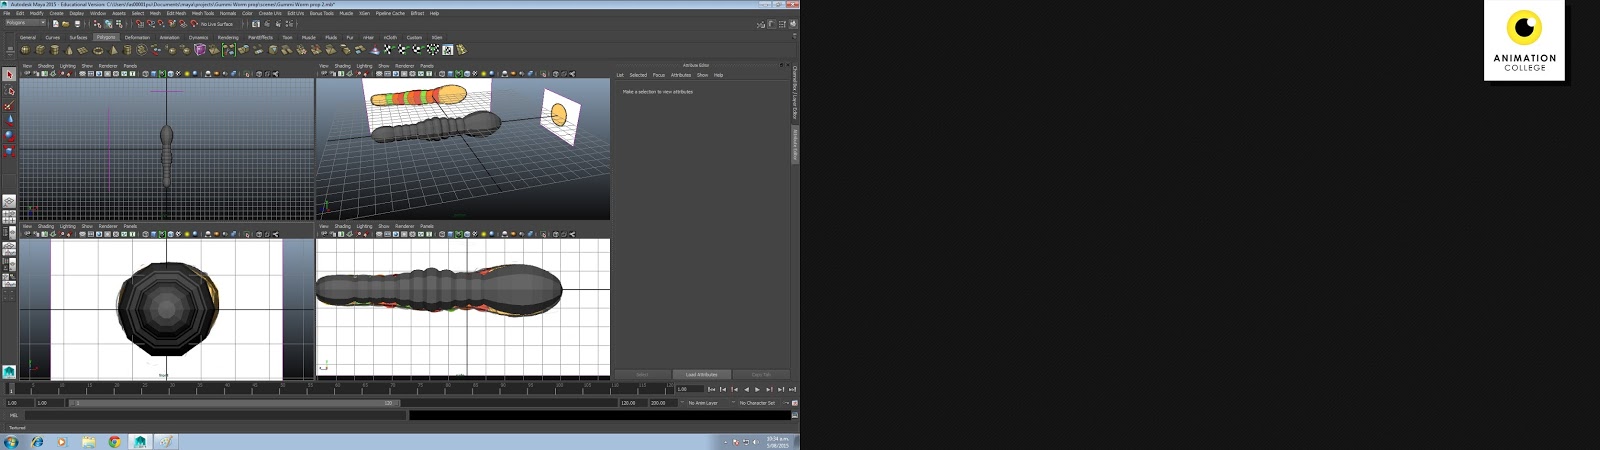
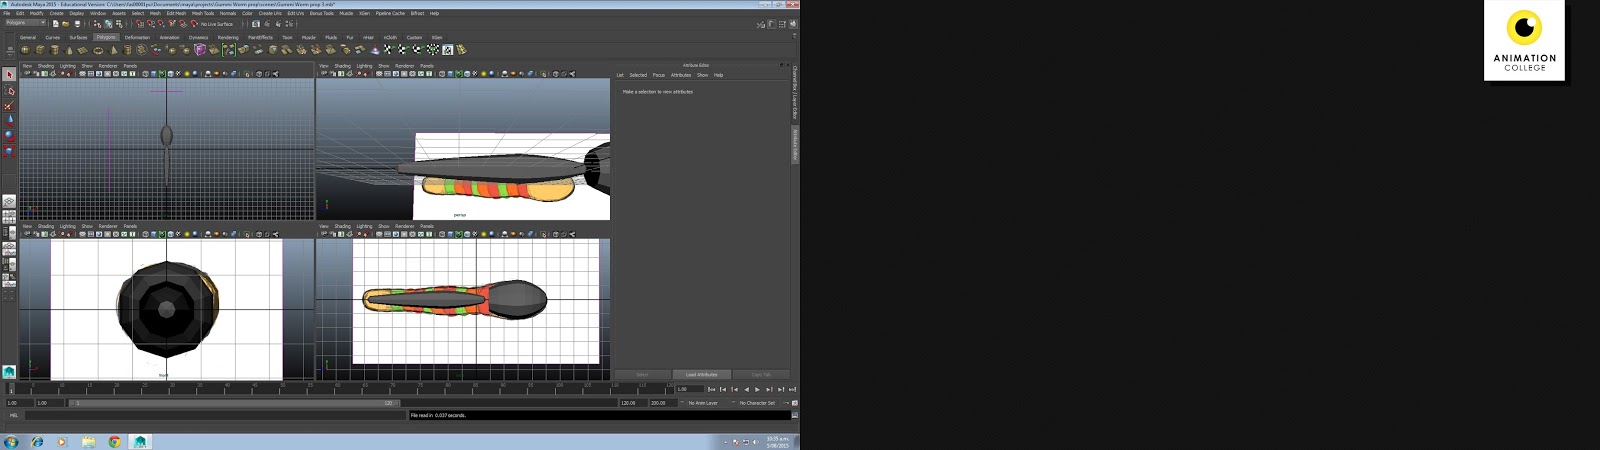
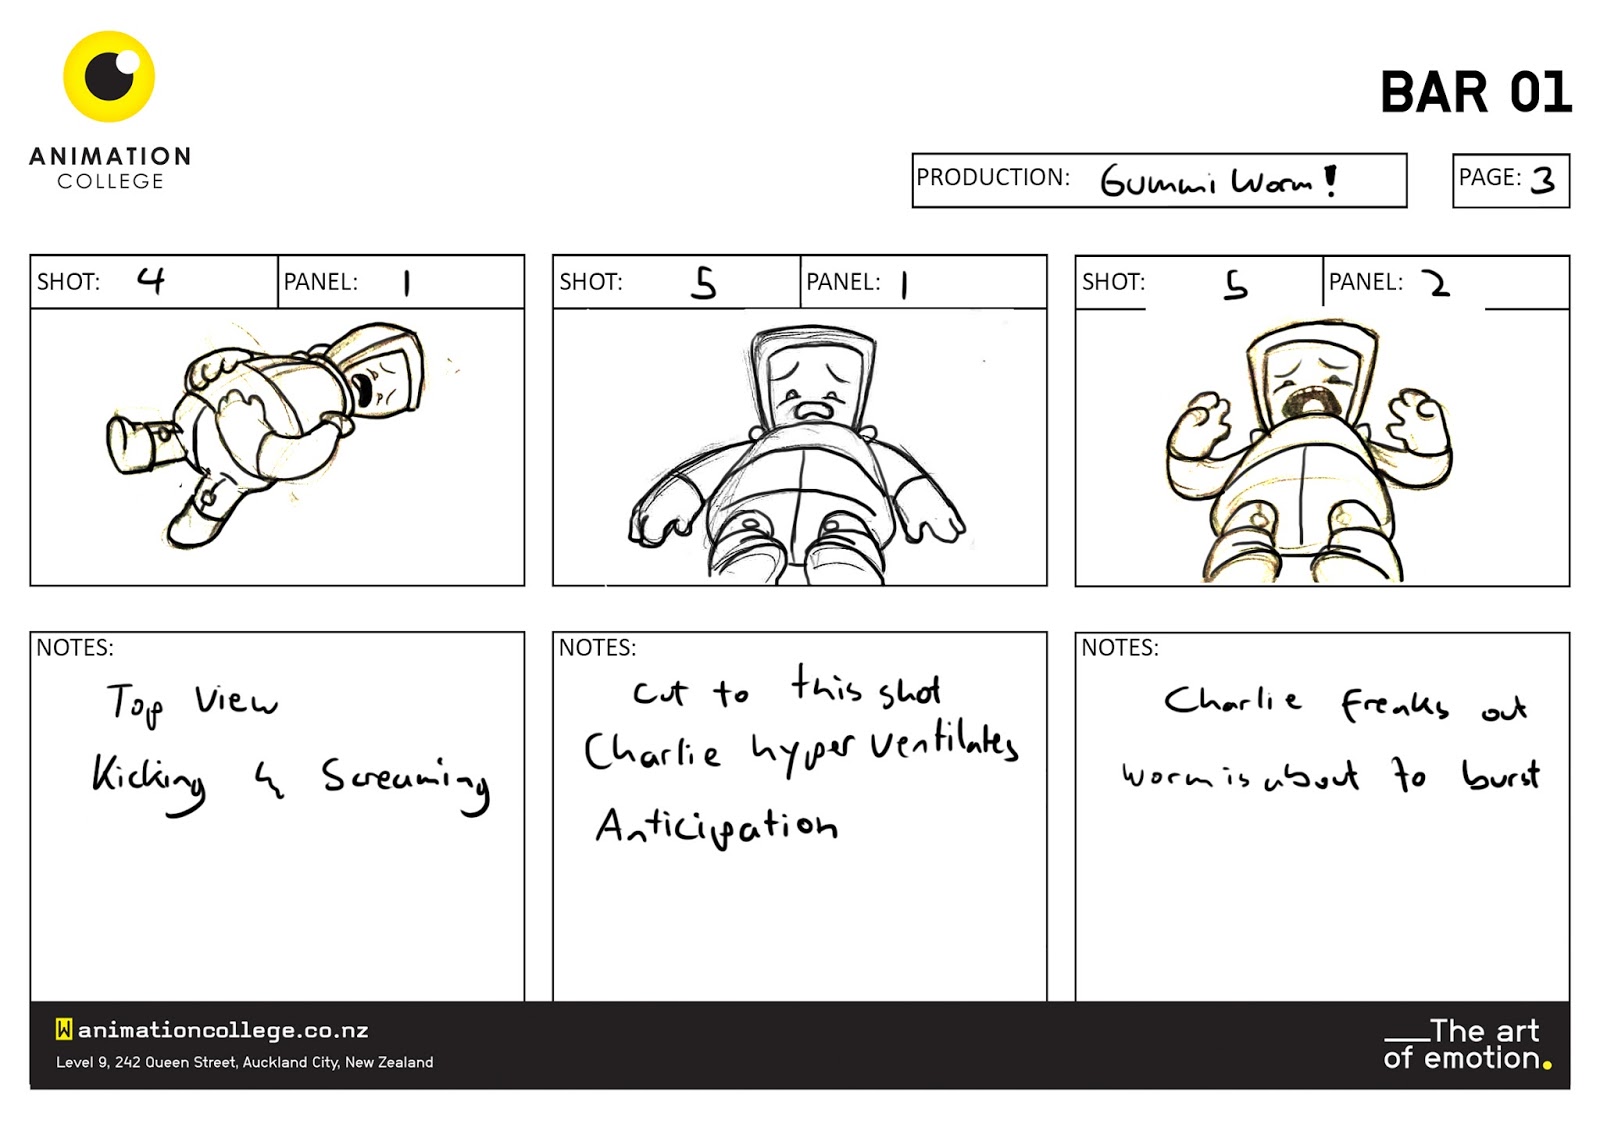
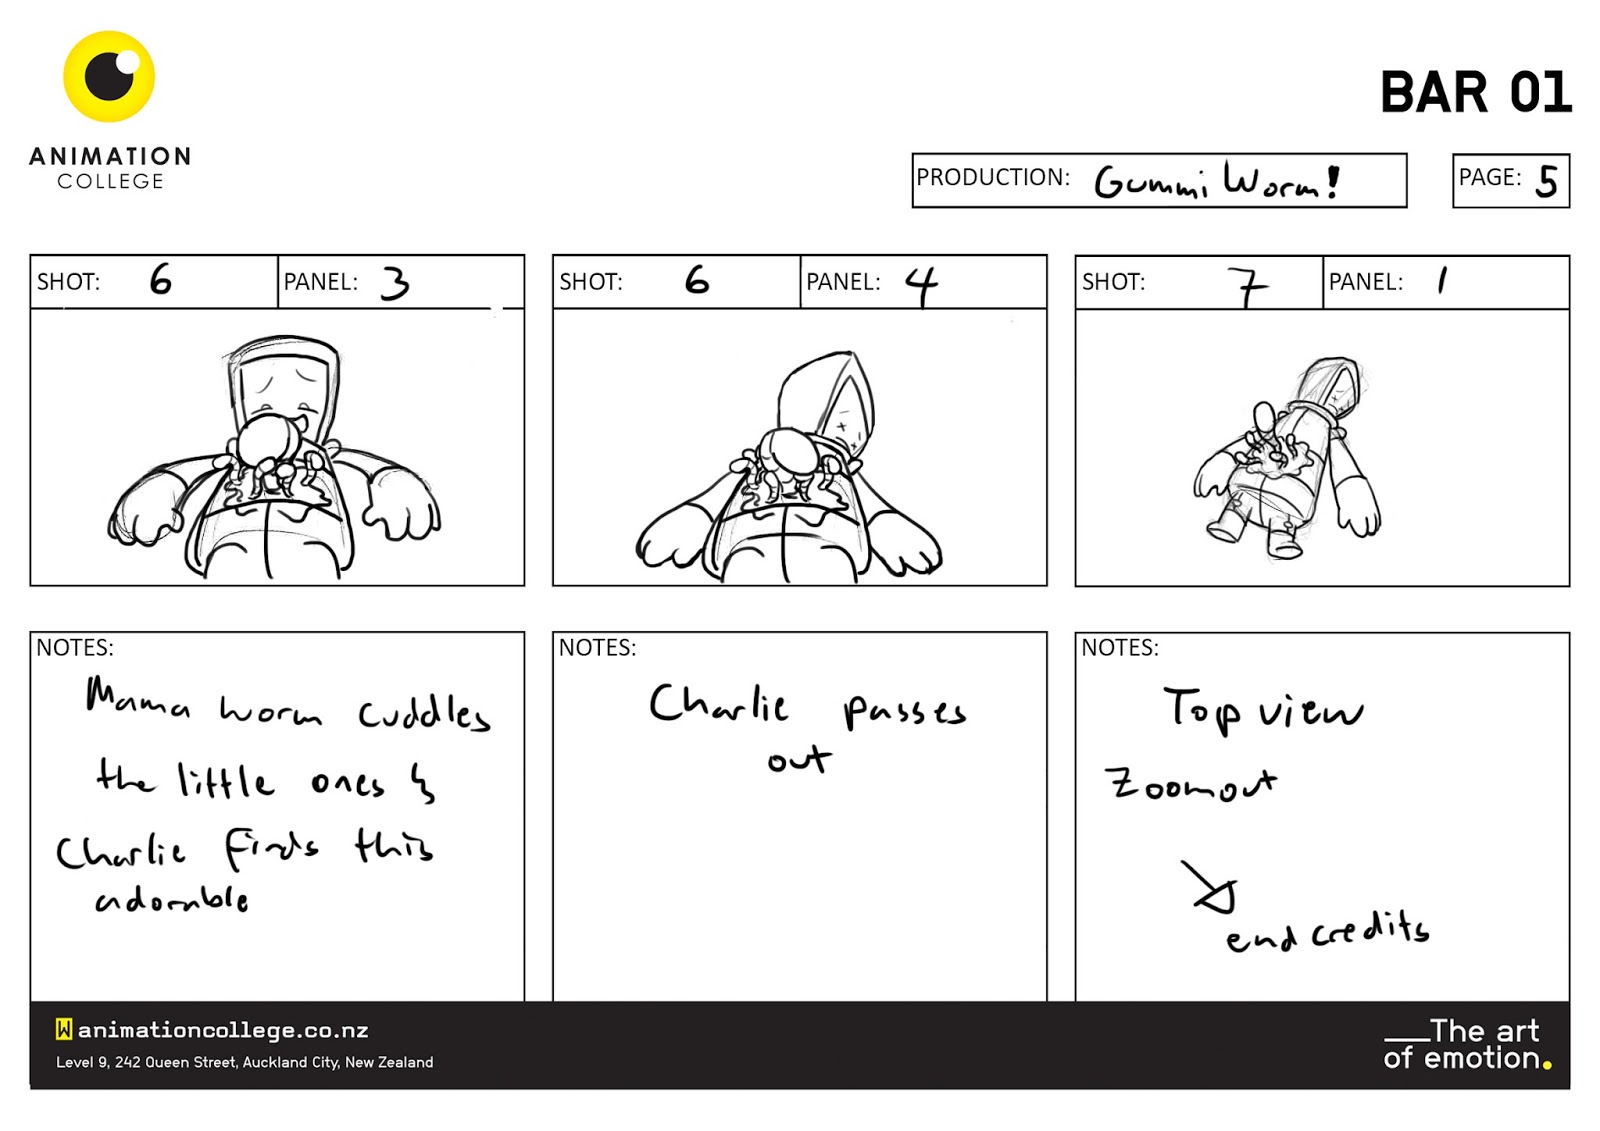
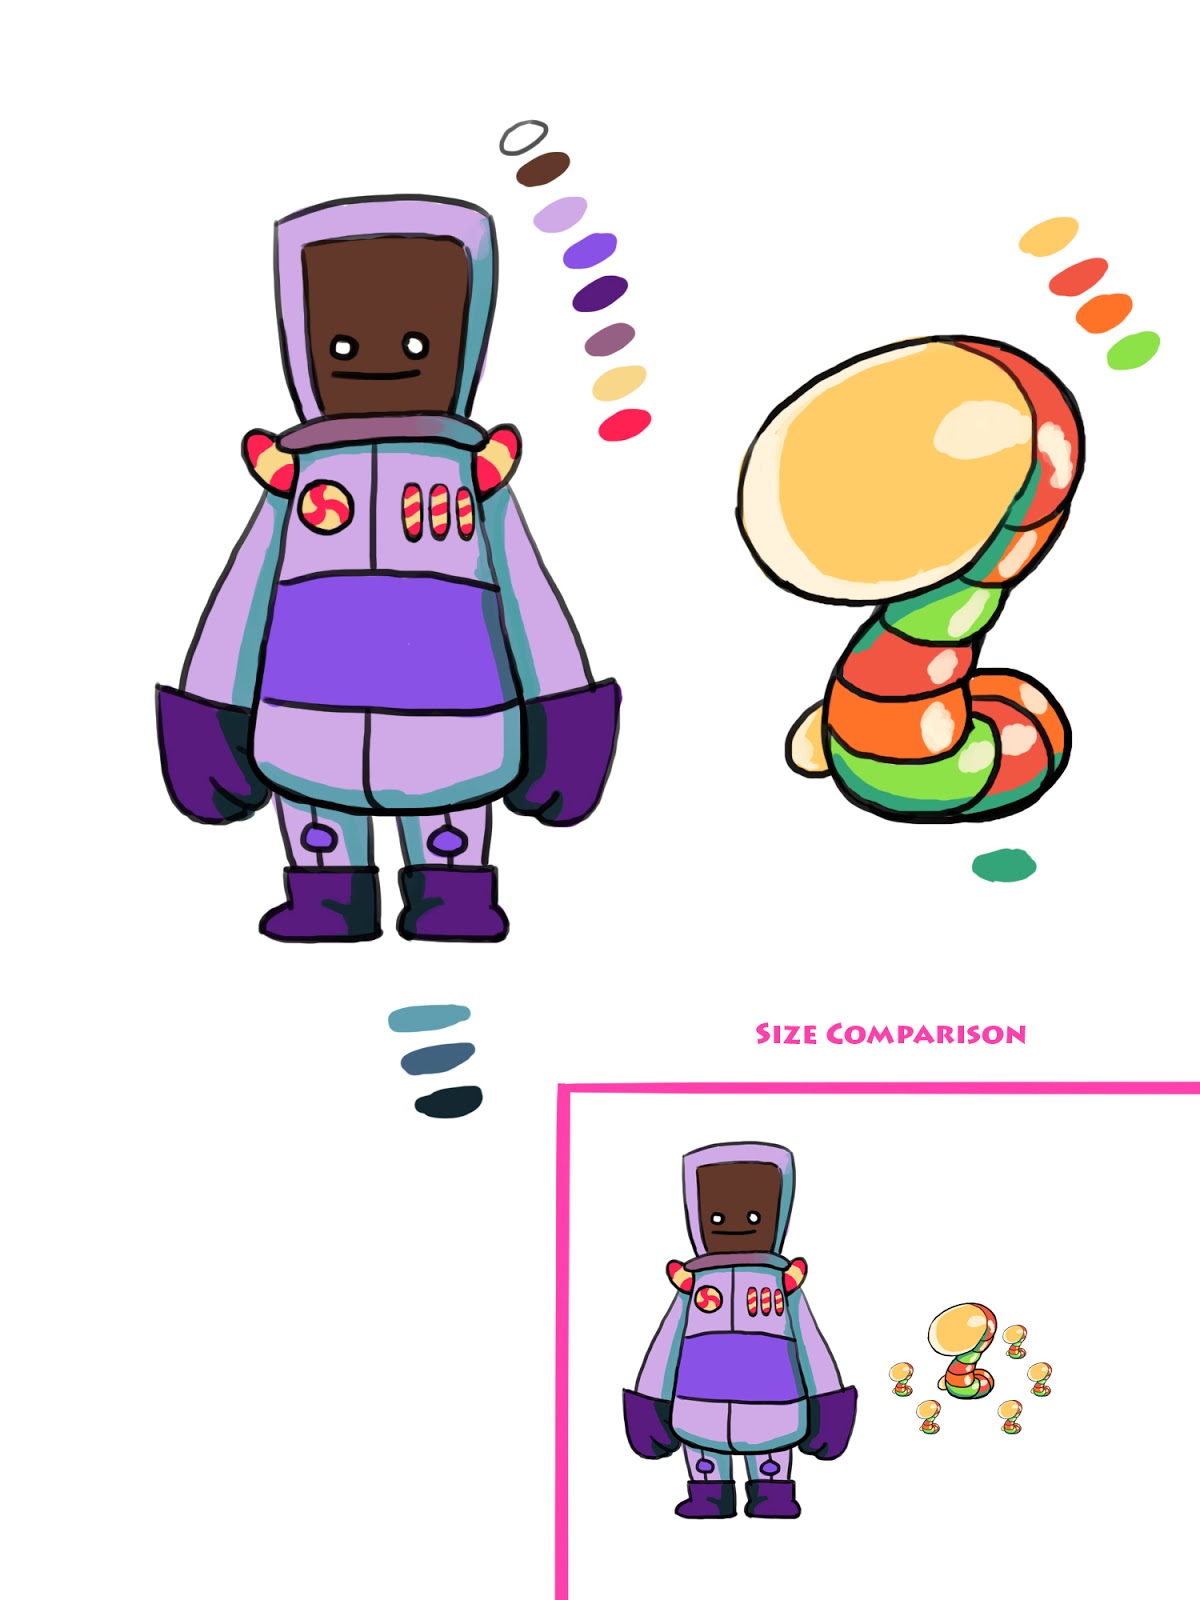
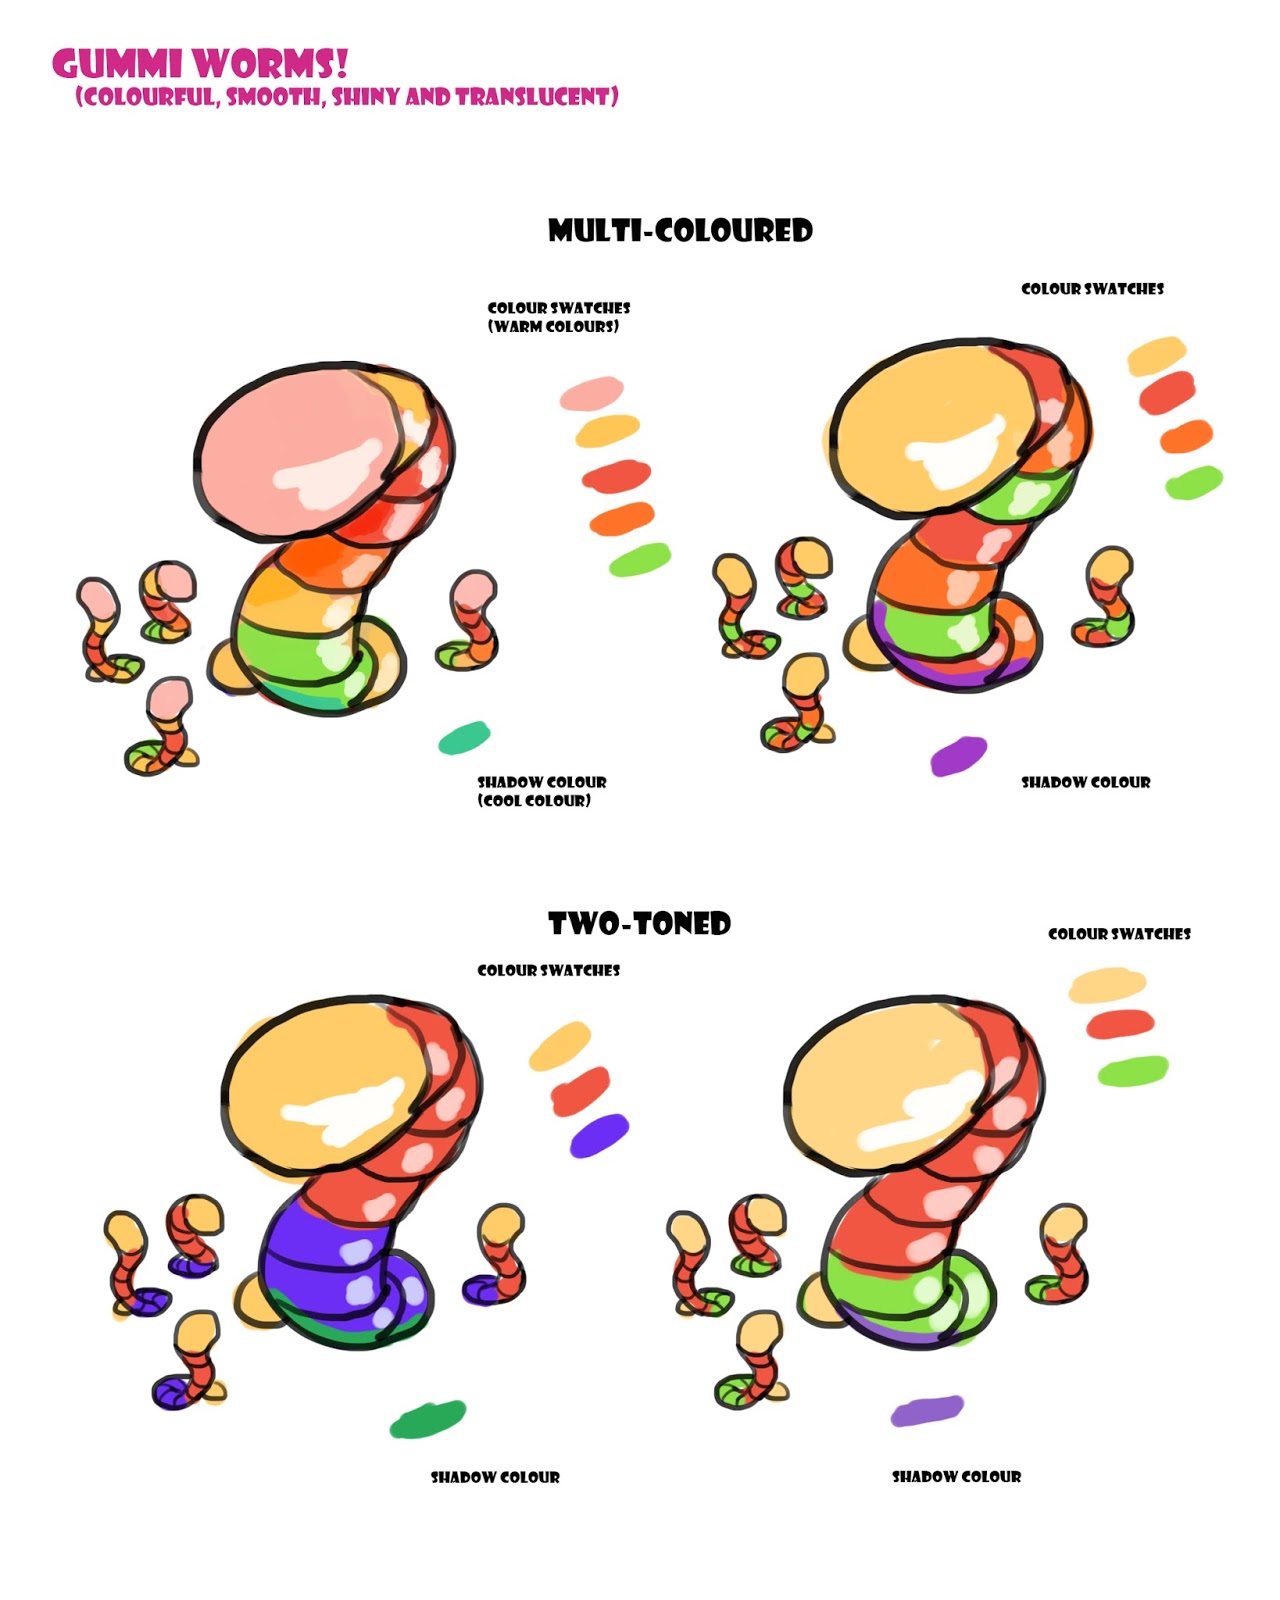
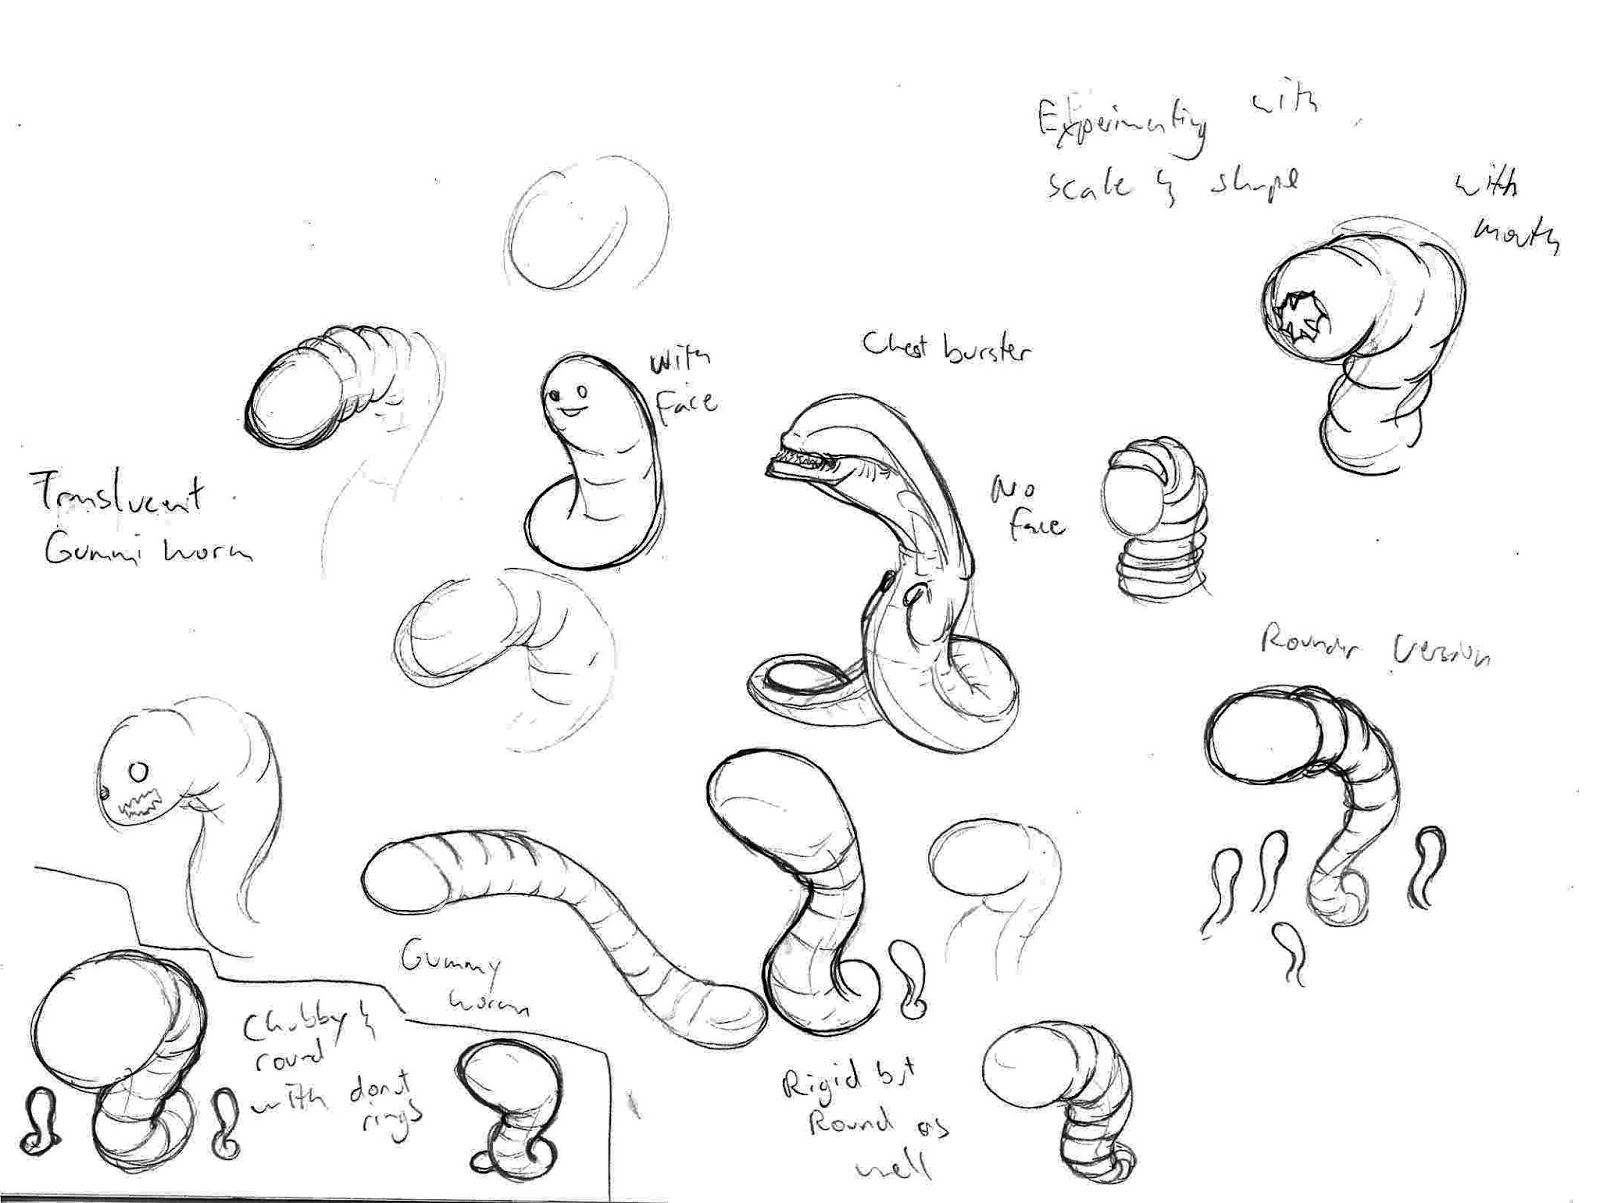
I chose the chestburster scene from Alien because it is very iconic and it is easy to identify. This gave me a lot of room for ideas to mess around with. At first it was only supposed to be one worm but from Keat’s feedback and suggestions I thought it would be more awesome to have more little worms coming out after the big one. From this idea that Keat suggested, I thought i could make the “mama” worm comfort the little ones. It gives that contrast between a gruesome death and an adorable moment for the worms which works for a comedic twist on the horrific scene from Alien.


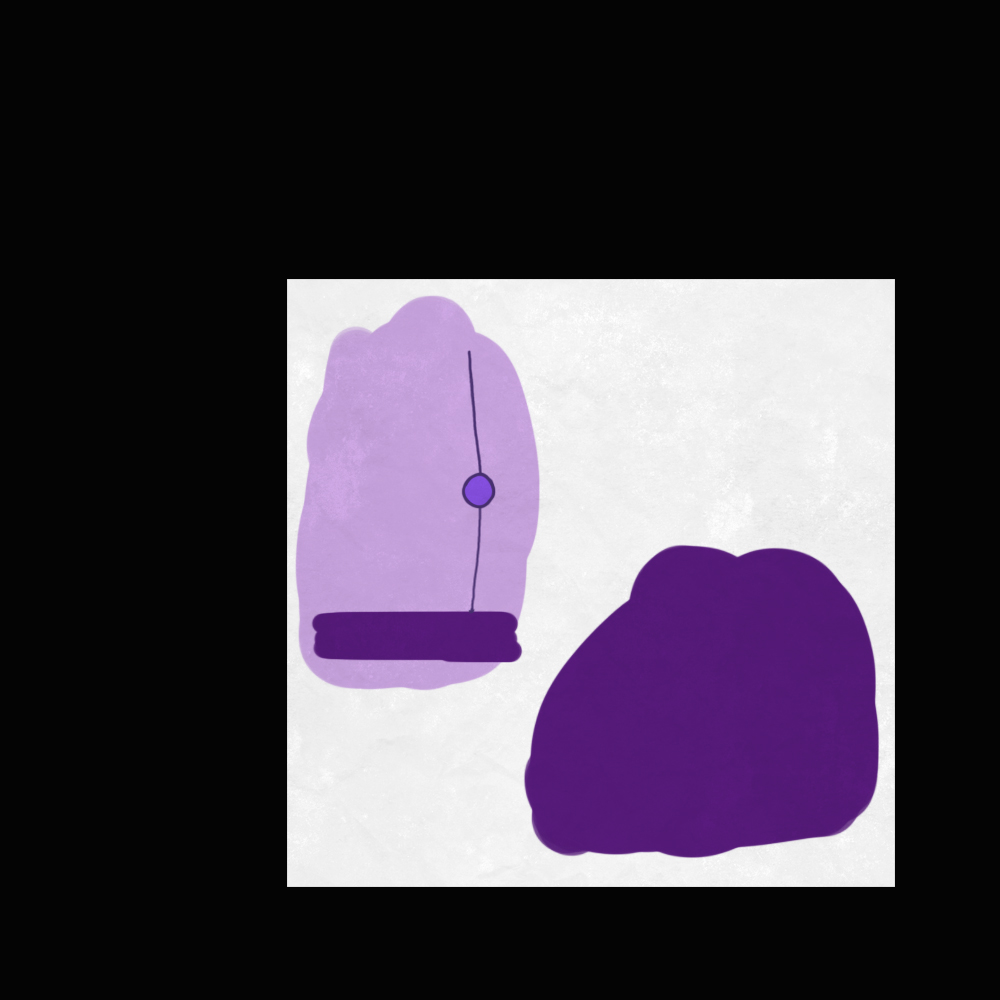
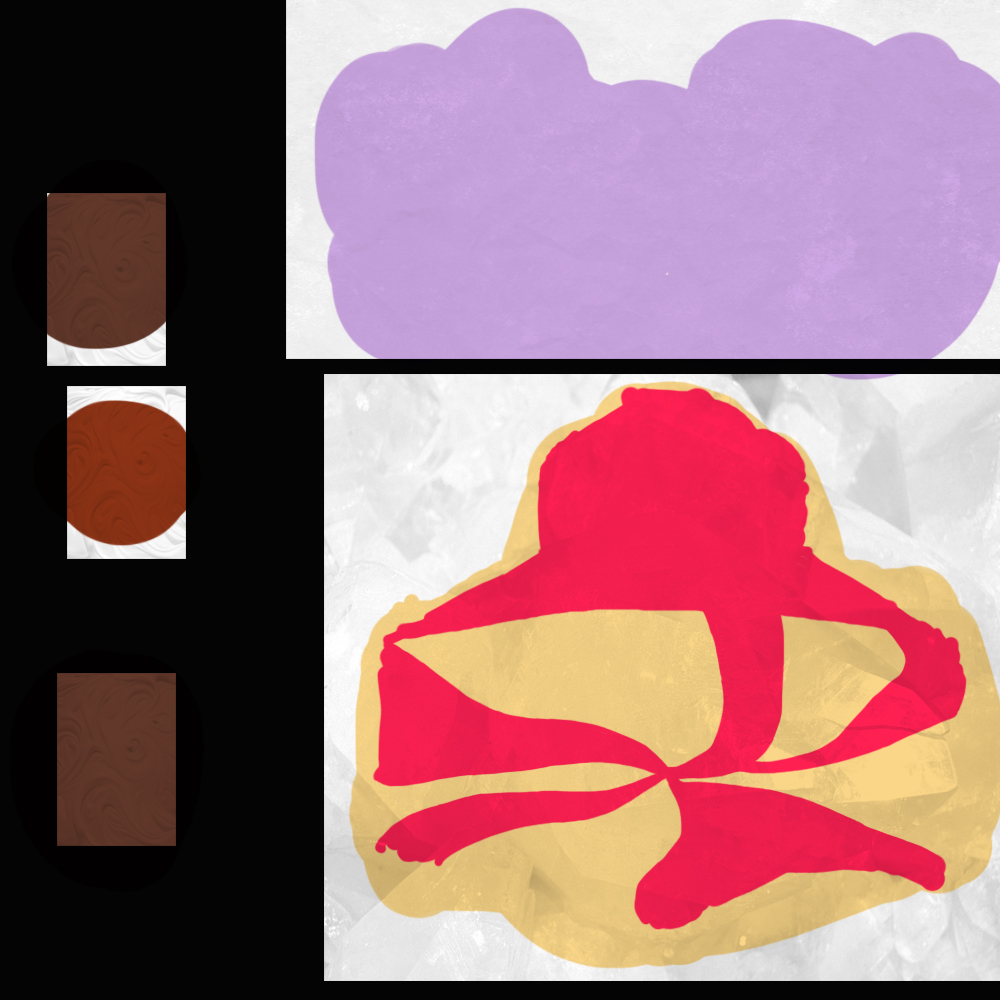
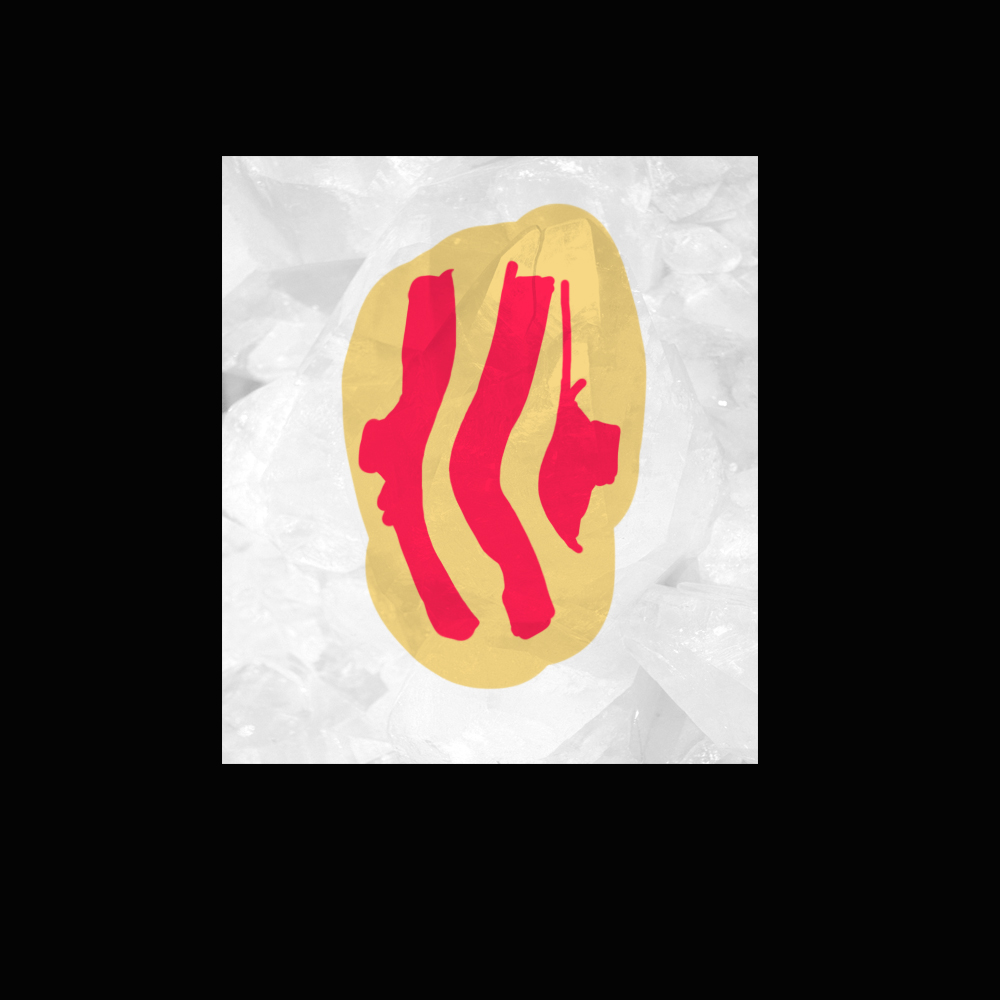
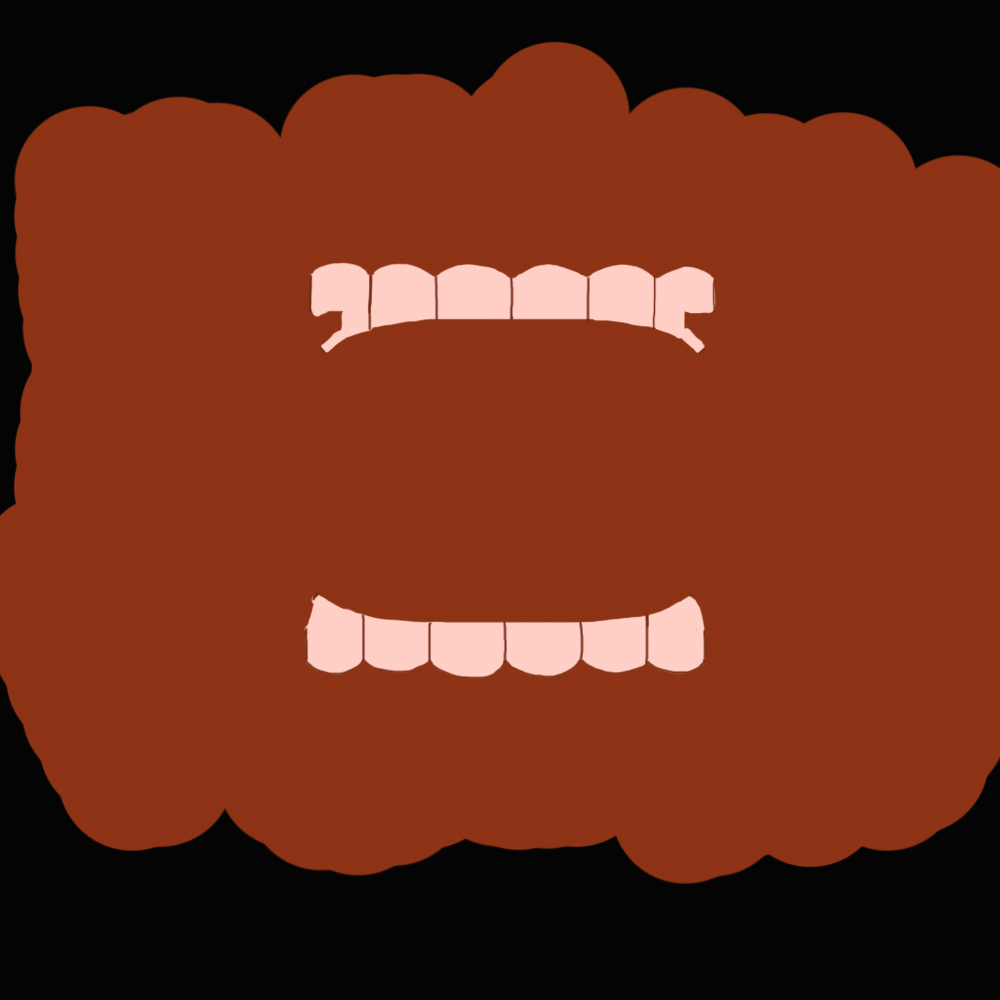
I enjoyed blend shapes a lot. I made blend shapes for my face rig and the chocolate blood. I saw how important the face topology and landmarks are on making facial expressions. I modeled the face of my character based on a real face. I practiced making a human head to learn about how to properly make the topology of the face. Of course I modified this for my character.


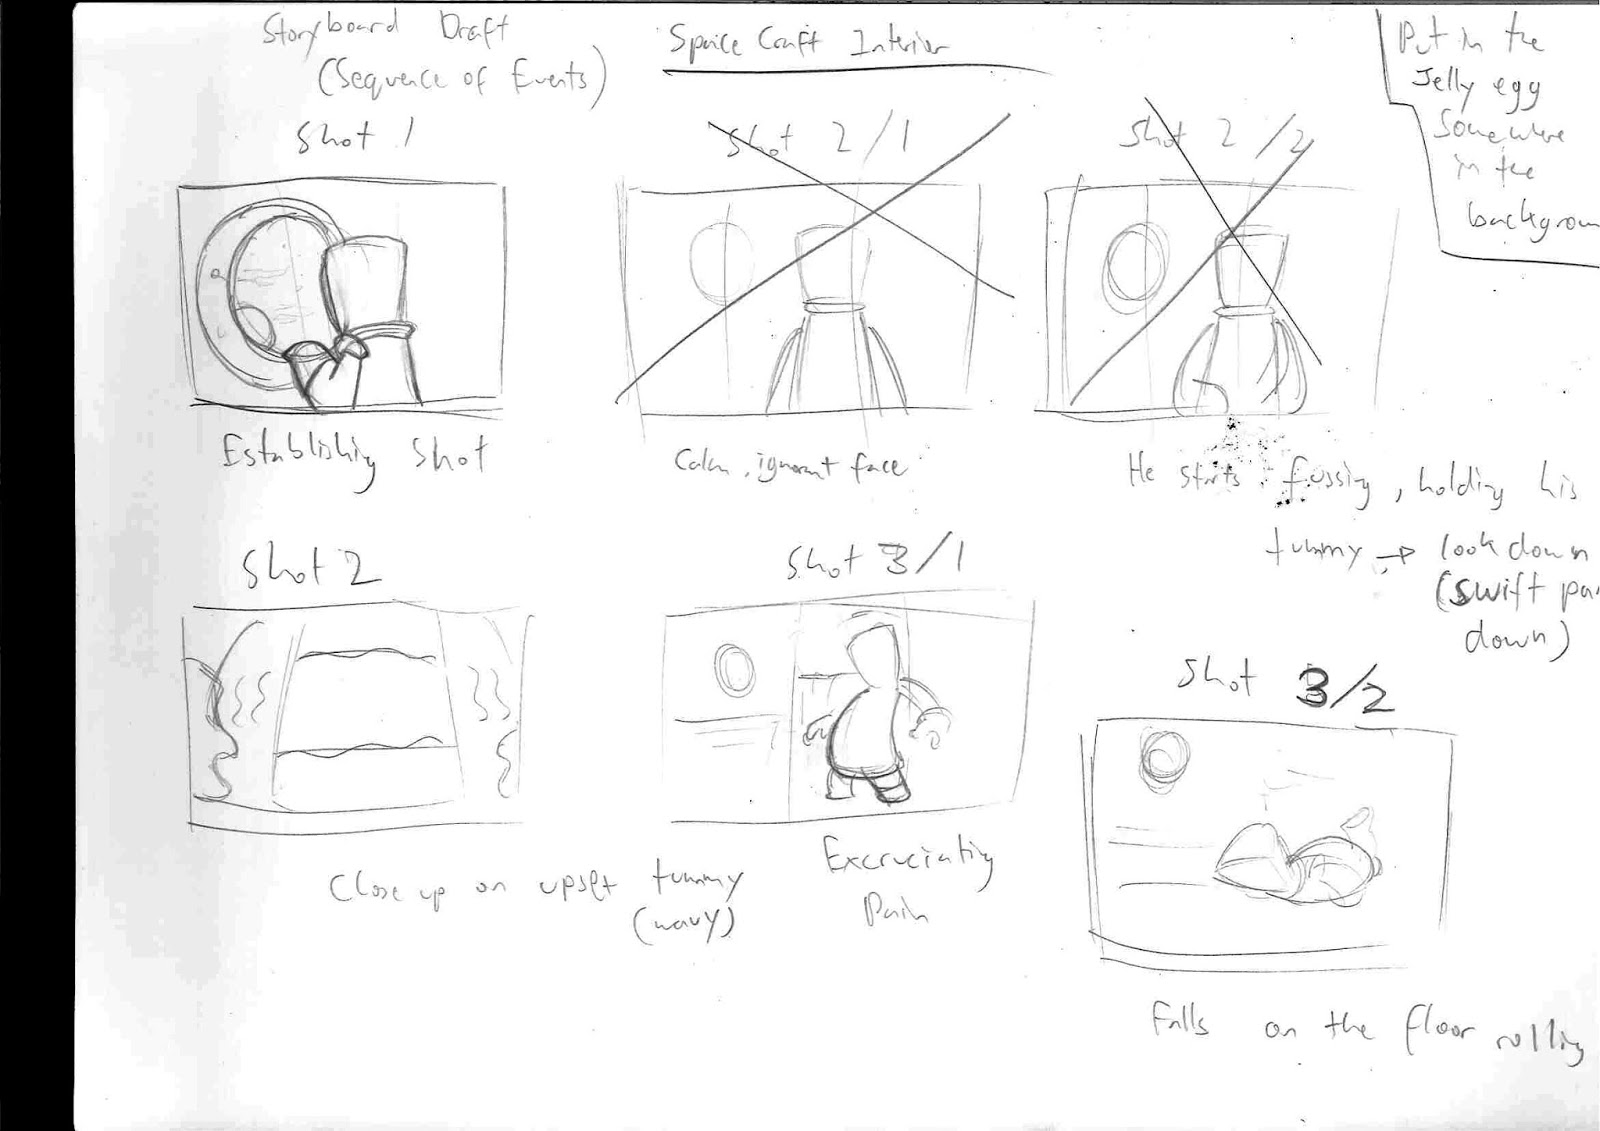
At first I was planning to just paint my background. But then I decided to build it. It was really fun building an environment despite a short amount of time. I enjoyed building the egg and the goo. Together with the refrigerator, it creates an indexical relationship about eating something out of that egg without showing it but hinting it. Lighting my environment was also really fun. I messed around with different lights to find out which ones would work best. I also messed around with the reflectivity settings for each material to make the environment look more awesome. I also like messing around with different light colours to create a filter to suggest a mood. I also put in a space picture to complete the setting. When I saw what it looked like rendered, I was really happy.

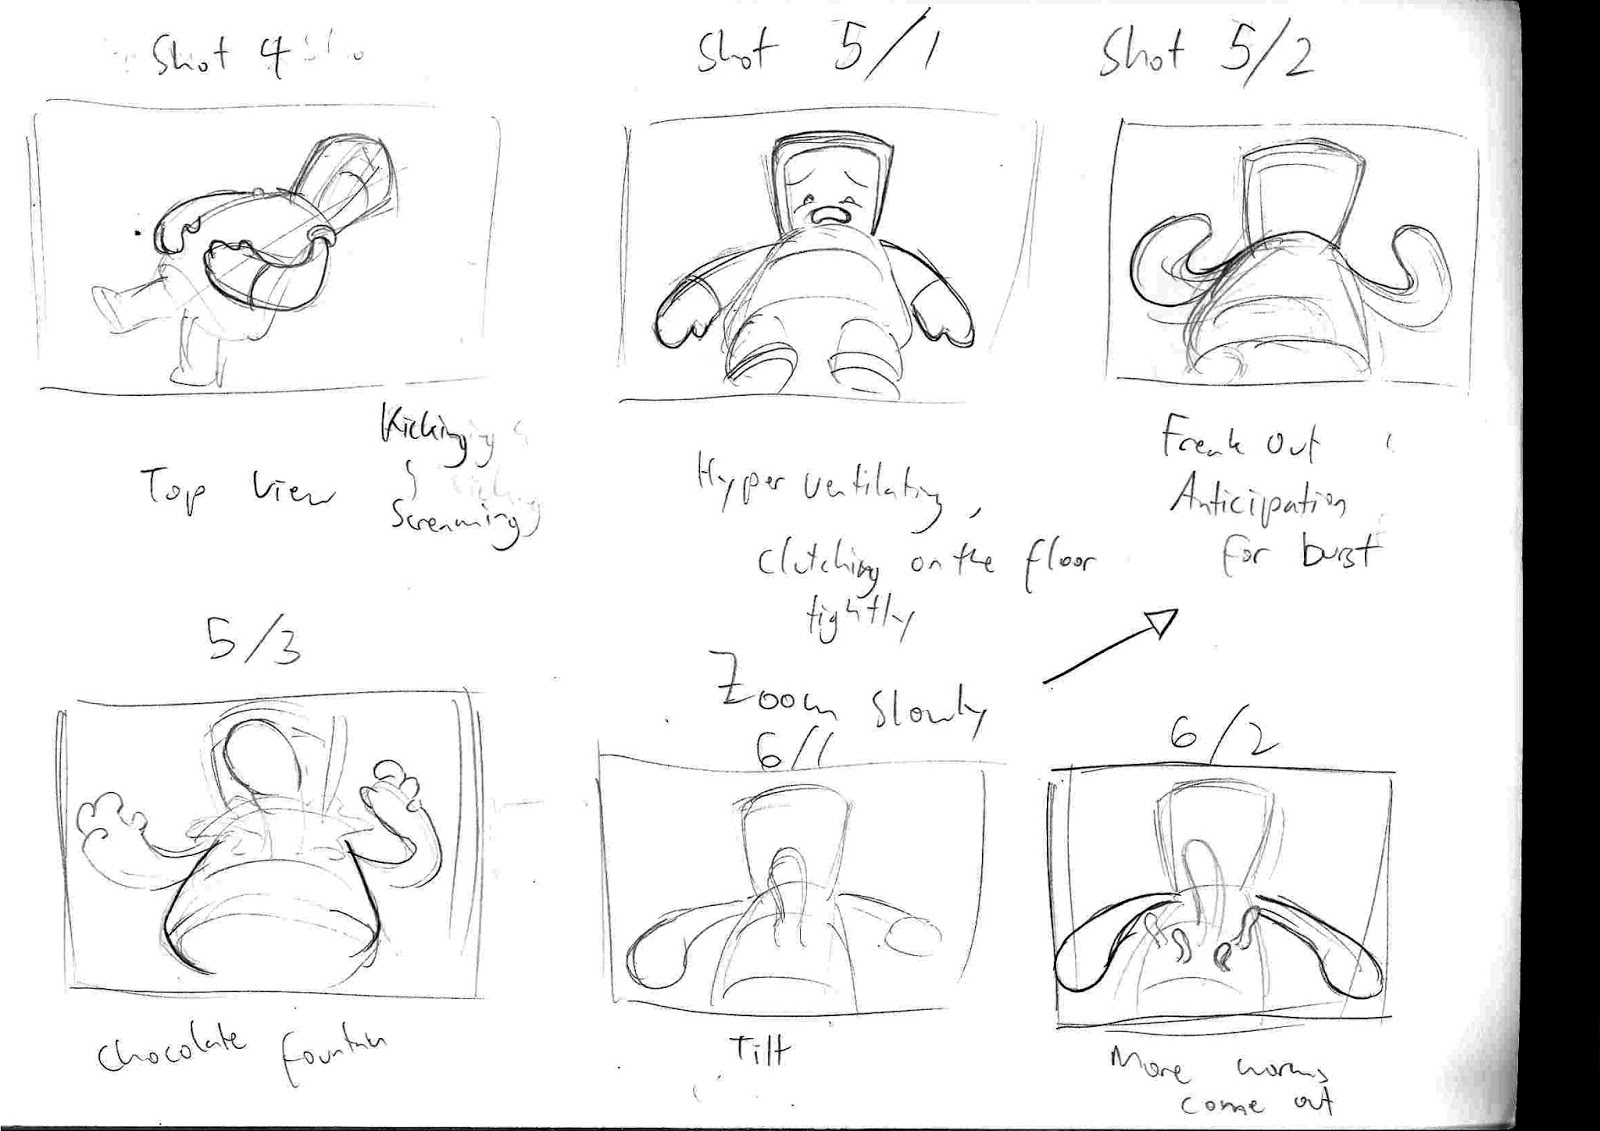
I encountered some problems with my rig after testing it out, some were easy to fix, some were not so much. Even though they limited the extent of the availability of different poses for my character, I did manage to animate my character properly despite these problems. I also animated 6 separate worms. It was really fun making the worms move in different ways as different individuals rather than make them move in a similar way which could have made it look mechanical. At the end, I’m very happy with what I’ve made. I’m looking forward to learn more and improve.

Friday 13 November 2015

Final Animation

This is the video for my final animation. I'm really happy with what I've done. I learned a lot about 3D animation and animation in general by making this sequence. It was really fun and I'd like to learn more :)

Monday 19 October 2015

Rig Demo

I finished rigging my character and prop but I've only animated the character. Here's the video.

Thursday 8 October 2015

Rigging

If UV texturing was technical, rigging is way more technical and challenging but it's going great. Here's a screenshot of my rig and controls so far. I did the weight painting first before the controls but then I realized that painting it would be easier after putting the controls in. So i detached the skin and I'll paint it again. It doesn't really bug me that much. I reckon it's part of the learning process.


On the side, there's also my dummy for blending shapes which I would do next. I was planning to rig the face of my character but I don't think I could do it in time for the submission. So what I'll do is just do the blend shape for each expression. I think blend shape might suit my character better but it would be awesome if I could rig his face. But what I'll do is practice face rigging in my own time. 

3D Model and Textures

I haven't posted in a bit but this is what my full coloured model looks like and the UV textures I put on it. UV texturing was very technical which is something I'm not really good at especially the unfolding bit and laying it out properly. But I did learn that laying the UV properly really helps with the painting. Also the map grid is really useful to see stretching and it's also a good reference.


And also my prop.


Sunday 23 August 2015

This was when I was starting my model. I made the arms, legs, body and head as separate objects. 

For the shoulders I tried different methods such as extruding it from the arm. I also stitched the legs to the body. 

I also tried extruding it from the body. 

But I went with making a separate object and stitching it to the body. 


I then stitched the arm to the shoulder.

I also made fingers and stitched them to the arm. 

I made the backpack and stitched it to the head. 

I then fixed the shape of the pipe. 

I started making the face with a plane. 

I then stitched the face on the rest of the head. I also made a transparent glass with a separate plane. 


My final model. 


I've been working on 3D modelling my character for some time now. But now I've finished it and here it is.


This is the turn around for my prop. I put in a light and played around with the shadow colour to match the model sheet.

Tuesday 4 August 2015

5/08/2015

I started on making a 3D model of my prop on 3/08.


I made individual ridges by duplicating each ridge and scaling them to model.


 I deleted the ridges because the polygon count isn't even. The head was a 10x10 sphere and the rest were 8x8.


 I fixed the Gummi Worm and connected the ridges by connecting the vertices.


This is the smooth model of my prop. 4/08


4/08
I coloured my prop.


I also tried out applying UV texture to an object with help from the tutor. I'm going to try experiment with this to find out how it works.

Sunday 2 August 2015

3/08/2015

A revised version of my prop modelsheet. I made a side view and a front view of the worm. The body of the worm is circular but the head is quite flat. I could also use the side view for the top view.


3/08/2015

These are some of the feedback I received for my storyboard and I'm thinking of how I would implement it. I also planned an opening title sequence for my animation. I also thought about the end credits and how it would transition to that. I was told that it would be better if it faded into a colourful background rather than a black one because of the genre, style and tone of my animation sequence.
(zoom out to window)

Wednesday 29 July 2015

30/07/2015

The storyboard for the scene I'm doing. Based on the feedback I got, I would have to change the shape of the interior into a spherical shape. I think that this is a good thing because it would make it easier to do and also would appeal based on the shape language. I also have to add in a starting title sequence and also the credits. But this is pretty much what would happen in my scene.
The timing for my storyboard is in my draft notes.


Monday 27 July 2015

28/07/2015

Final illustrations of Charlie and the Gummi Worms. They are both slightly different from the model sheet/development sheets. I took out the bar above the big circle on Charlie's suit and made the circle bigger based on the feedback I received. I also made the suit's colours brighter.


28/07/2015

Draft ideas for my storyboard. I organised the sequence of it, did different camera shots and timed it. I changed bits of it too.


28/07/2015

Texture swatches that I might use for my character.

Sunday 26 July 2015

26/07/2015

I did more colour tests for Charlie based on the feedback I got. I was told to experiment with cool colours and shadows and so I did. It really helped with more colour choices rather than trying out different shades of pink/purple. It would also make a good contrast between cool and warm colours with the prop which would burst out of his tummy.

26/07/2015

These are colour concepts and colour swatches for my prop. From the feedback I received, I experimented with warm and cool colours. I used warm colours for the colours of the worm and I used cool colours for the shadow to contrast the colours of the worm. The feedback I got was very helpful because it helped me realize the importance of experimenting with cool and warm colours and the contrast that could be made by using these two. I think I might go with the second multi coloured one.

Saturday 25 July 2015

26/07/2015

Expression sheet for my character.
Charlie's different facial expressions are on the first page.
The poses and expressions that Charlie might be using are in the second page. I put in the running poses in the second page to get a gist of his personality (through walk cycles).


Wednesday 22 July 2015

23/07/2015

These are my sketches for designing the prop I'm going to use for my animation sequence. This is the Gummi Worm. I based it off the chestburster from Alien.

23/07/2015

This is the background story and profile of my character.